Butternut Squash Prep: Peeling & Cutting Tips for Quick Roasting
Butternut squash, with its distinctive bell shape and vibrant orange flesh, is a true culinary gem of the colder months. Beloved for its naturally sweet and creamy texture, it transforms into a comforting side dish, a hearty soup base, or a delightful addition to salads and stews. Often considered intimidating due to its hard skin and unique shape, many home cooks shy away from preparing it from scratch. However, with the right techniques and a few simple tools, learning
how to cook butternut squash from scratch can be surprisingly straightforward and incredibly rewarding. This comprehensive guide will equip you with the best peeling and cutting tips, ensuring your butternut squash is perfectly prepped for quick roasting every time.
Why Butternut Squash Deserves a Spot in Your Kitchen
Beyond its cozy, sweet flavor, butternut squash is a nutritional powerhouse. This often-mistaken "vegetable" is technically a fruit, packed with dietary fiber, a wealth of vitamins (especially Vitamin A and C), and potent antioxidants. It's also remarkably low in calories and fat, making it an excellent choice for a healthy, satisfying meal that truly hits the spot when temperatures dip.
Its versatility is unmatched. While simply roasted and seasoned, it makes a phenomenal stand-alone side dish, the soft, sweet flesh can also be pureed into velvety soups, added to robust stews and chilis, or tossed warm into winter salads for an extra layer of flavor and nourishment. For more inspiration on its health benefits and culinary uses, explore our article on
Sweet & Creamy Butternut Squash: Healthy Winter Comfort Food. Once you master the prep, a world of delicious possibilities opens up!
Essential Tools for Seamless Butternut Squash Preparation
Before you dive into cutting and peeling, gathering the right equipment will make the process much smoother and safer.
- Large, Sharp Chef's Knife: This is non-negotiable. A sharp knife is actually safer than a dull one, requiring less force and reducing the risk of slippage. Its length and weight are ideal for cutting through the tough squash exterior.
- Sturdy Vegetable Peeler: While some prefer a paring knife for peeling, a high-quality, sturdy vegetable peeler (Y-peeler or swivel peeler) is far more efficient for the thick, often stubborn skin of butternut squash. Look for one with a comfortable grip.
- Robust Cutting Board: A large, stable cutting board is crucial. Opt for one with a non-slip bottom, or place a damp paper towel or non-slip mat underneath for added security.
- Large Spoon or Ice Cream Scoop: Perfect for scraping out the seeds and fibrous pith from the center of the squash. An ice cream scoop works particularly well due to its sturdy edge.
Safety Tip: Always work on a stable surface. If your squash wobbles, trim a thin slice from one side to create a flat, stable base before proceeding with major cuts.
Step-by-Step Guide: Peeling & Cutting Butternut Squash
There are primarily two popular methods for preparing butternut squash: roasting in halves or cubing. Each has its advantages in terms of cooking time and versatility. Before starting any method, always give your squash a good wash under cool running water.
Method 1: Roasting Butternut Squash in Halves (for a Simple Side Dish)
This method is fantastic for a hands-off side dish and yields beautifully creamy results. It also means less initial cutting and no peeling!
- Trim the Ends: Using your sharp chef's knife, carefully slice off about a half-inch from both the stem and blossom ends of the squash. This creates flat surfaces and removes the toughest parts.
- Halve Lengthwise: Place the squash on one of its trimmed ends to stabilize it. With your large, sharp knife, carefully cut the squash in half lengthwise, starting from the top and working your way down. The skin is thick, so apply steady, firm pressure.
- Deseed and Scoop: Use a large spoon or ice cream scoop to thoroughly scrape out the stringy pith and all the seeds from the cavities of both squash halves. Discard the seeds or save them for roasting later!
- Season Simply: Rub the cut flesh of each squash half generously with olive oil. Sprinkle with a good pinch of salt and freshly ground black pepper. For added warmth and sweetness, consider a dash of brown sugar, a sprinkle of cinnamon, or a few sprigs of fresh rosemary or thyme.
- Bake to Perfection: Place the squash halves, flesh-side up, in a baking dish. For optimum creaminess and to prevent drying out, cover the baking dish tightly with aluminum foil. Bake in a preheated oven at 400°F (200°C) for about 45 minutes. Then, remove the foil and continue baking for another 15-20 minutes, or until the top edges of the flesh begin to brown slightly and the squash is fork-tender. This two-stage baking process ensures a tender, creamy interior and a delicious caramelized exterior.
- Serve: Once done, simply scoop the sweet flesh out of the skin with a spoon and serve. Smaller halves can even be served directly in their "bowls."
Method 2: Cubing Butternut Squash (for Faster Cooking & Versatility)
Cubing is excellent for quicker cooking and for incorporating butternut squash into a wider array of dishes, from salads to stir-fries. This method requires peeling, but we have a trick for that!
- Trim the Ends: As with the previous method, slice off the stem and blossom ends.
- Microwave Trick (Optional, but Recommended): If your squash is particularly hard, microwave the whole squash for 1-2 minutes. This slightly softens the skin, making it significantly easier (and safer!) to peel and cut. Be cautious as it will be hot.
- Peel Thoroughly: Place the squash on a cutting board, standing upright on one of its flat ends if stable. Using your sturdy vegetable peeler, start peeling the skin from the top down. The skin is quite thick, so you will likely need to peel 2-3 layers to remove all of the tough outer skin and get to the bright orange flesh underneath. Rotate the squash as you go, ensuring all the skin is removed.
- Halve and Deseed: Lay the peeled squash on its side. Cut it in half lengthwise, then use your spoon or scoop to remove all seeds and pith.
- Slice into Planks: Place each deseeded half cut-side down on the cutting board. Slice the squash into 1-inch thick planks or rings.
- Cube Evenly: Take each plank and cut it into 1-inch cubes. Aim for uniform size to ensure even cooking.
- Season for Roasting: Transfer the butternut squash cubes to a large baking sheet. Drizzle generously with olive oil or melted butter. Season with salt, pepper, and your favorite herbs like dried sage, rosemary, or a pinch of garlic powder. Toss to coat evenly.
- Roast for Speed: Spread the seasoned cubes in a single layer on the baking sheet. Roast in a preheated oven at a higher temperature, typically 425°F (220°C), for about 25-35 minutes. Flip them halfway through for even browning. They are ready when the edges are caramelized and the flesh is fork-tender. This method significantly cuts down on roasting time compared to whole halves.
For more detailed instructions and creative variations on roasting, check out our guide:
Easy Roasted Butternut Squash: Perfect Halves or Cubes Every Time.
Elevate Your Roasted Butternut Squash: Seasoning & Serving Ideas
While olive oil, salt, and pepper are always a winning trio, don't be afraid to experiment with other flavor profiles to truly make your butternut squash shine.
- Sweet Enhancements: A drizzle of maple syrup or honey, a sprinkle of brown sugar, cinnamon, nutmeg, or even a tiny pinch of cayenne pepper can beautifully complement the squash's natural sweetness.
- Savory Boosters: Fresh or dried herbs like rosemary, thyme, and sage are classic pairings. Garlic powder, onion powder, smoked paprika, or a touch of chili powder can add depth. A drizzle of balsamic glaze after roasting offers a lovely tangy finish.
Your perfectly prepped and roasted butternut squash is incredibly versatile.
- Serve it as a vibrant side dish to any meal.
- Toss the warm cubes into a hearty winter salad with kale, goat cheese, and toasted pecans.
- Blend the roasted squash into a creamy, comforting soup.
- Fold cubes into grain bowls, risottos, or even pasta dishes for added texture and sweetness.
- Mash it with a bit of butter and cream for a delightful alternative to mashed potatoes.
Common Questions & Troubleshooting When You How to Cook Butternut Squash
Even with the best instructions, a few common questions arise when tackling butternut squash.
- "Is butternut squash really that hard to cut?" It can be! Its dense flesh and thick skin require a sharp knife and careful handling. Our tips, especially trimming the ends for stability and the brief microwave trick, are designed to make it much easier and safer.
- "Do I have to peel butternut squash?" For roasting in halves, peeling isn't strictly necessary as you scoop out the flesh. However, for cubed squash, peeling is essential. The skin is too tough and unpleasant to eat. Always peel thoroughly when cubing!
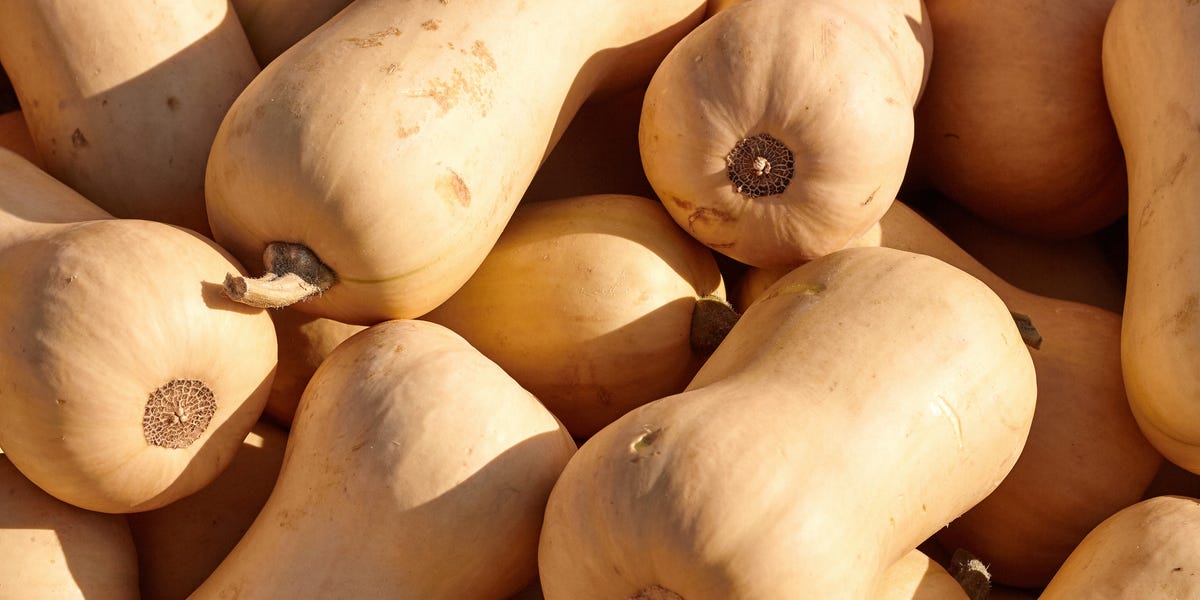
- "How do I choose a good butternut squash?" Look for a squash that is uniformly beige or tan, heavy for its size, and free of any soft spots, blemishes, or green patches. A dull skin indicates ripeness.
- "My roasted squash turned out dry. What went wrong?" Overcooking is a common culprit. For halves, ensure it's covered initially to trap moisture. For cubes, make sure not to overcrowd the baking sheet, as this can steam the squash instead of roasting it, leading to a drier result. Ensure adequate oil as well.
- "How long does cooked butternut squash last?" Leftover roasted butternut squash can be stored in an airtight container in the refrigerator for 3-4 days. It also freezes well for up to 3 months.
Now that you know
how to cook butternut squash, from tackling its tough exterior to perfecting its roast, there's no reason to shy away from this delicious and nutritious winter staple. With these tips and tricks, you'll be confidently preparing and enjoying butternut squash in all its sweet and savory glory, adding warmth and flavor to your meals throughout the season. Happy cooking!